Audrey Hepburn Step-by-Step
26May
Welcome to the silver art studio...
Fashion Icon, Actress, Humanitarian, Model, Dancer... Audrey has done many things with her time on Earth.
She shot to stardom after playing the lead role in Roman Holiday (1953), for which she was the first actress to win an Academy Award, a Golden Globe Award, and a BAFTA Award for a single performance.
She went on to star in a number of successful films, such as Sabrina (1954), The Nun's Story (1959), Breakfast at Tiffany's(1961), Charade (1963), My Fair Lady (1964), and Wait Until Dark (1967), for which she received an Academy Award, Golden Globe, and BAFTA nominations.
In drawing her, I've attached multiple process pics through the art process - I hope you enjoy!
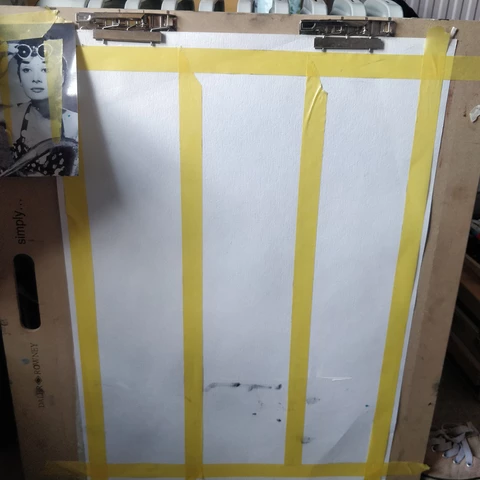
1. Utilizing a Daler Rowney sketch board I picked up at my local art store, I clipped in some paper I had sitting around (I'd drawn on the other side, but wasn't a fan of the finished piece, so time to reuse it!)
I've put in some masking tape (frog tape, I believe it was called), for a rough reference point to sketch Audrey from. I try not to get too hung up on getting dimensions right or I'd be there all day, for now, it'll do!
During this process, I attempted to film it in the hopes of creating a video documenting the whole process - as you guys can see, I'm still learning! Below is a video of my attempt, enjoy~
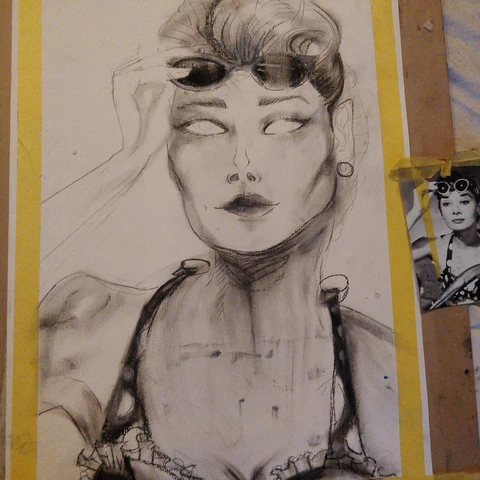
2. Next up... Getting that base sketch down!

As you can see here, there are some odd marks from times I would've been playing around with chalk/paint, etc and some has landed here... I know I can fix this in the coming steps with layering over the marks.
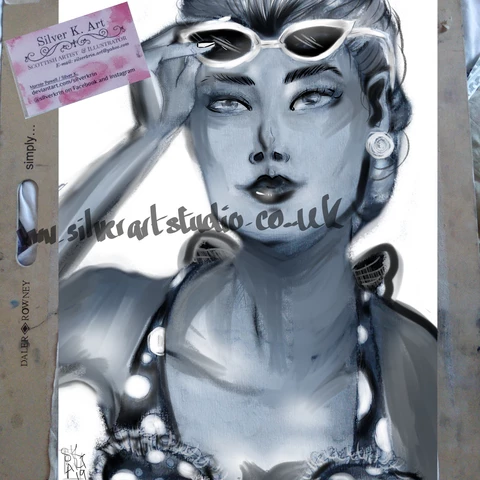
3. Adding chalk, and oil pastel here and there, to create a black and white effect. Utilizing the chalk was great fun as I could layer over dark with clear white chalk, attaining those highlights and shadows across the piece.
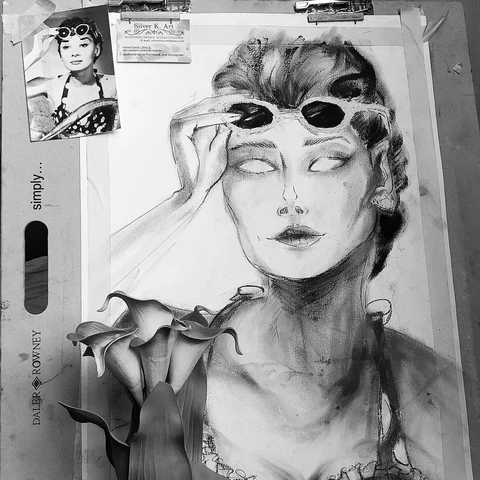
4. Final touches! In this segment, I get people close to me to look over the piece and give initial criticisms, and with that, I can edit where I see fit. Find below a Youtube video and the final, finished pics of Auds.
After this, I made a print from the original artwork. I enjoyed this process, as it was fun to go over and fix the mistakes I found in the trad. drawing. This will be available on my store in the coming weeks!
"For beautiful eyes, look for the good in others; for beautiful lips, speak only words of kindness; and for poise, walk with the knowledge that you are never alone." - Audrey Hepburn
✨ Thank you for reading my lil blog post, and visiting the studio! I hope this helps you in your own art journey. Any questions, queries or just want to say hi? Leave a comment down below - I appreciate it! 😊💖
Much love,